
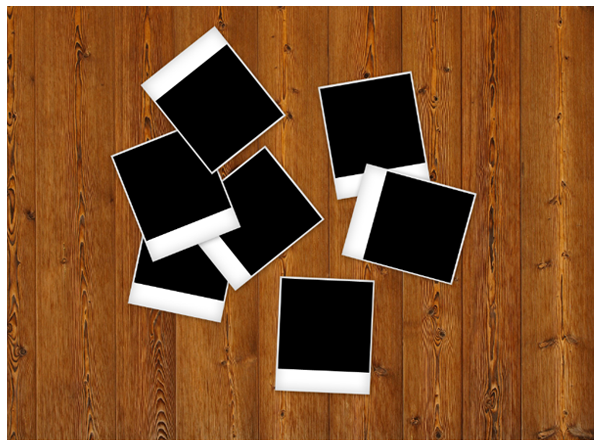
Quick Tip: Create a Set of Scattered
Polaroids
Final Product What You'll Be Creating

Creating a set of scattered Polaroids in perspective might be easier than
you think. Today, we will demonstrate the process in this quick tip
tutorial. Let’s get started!
Step 1
Create a new document, 2500 x 1850 px and paste the
wood texture onto the canvas. If you decide to use another texture make
sure that your canvas is the same size as your texture. Rename the texture
layer "WoodBG."

Step 2
Create a new layer, using the rectangle marquee tool, draw a rectangle
with the dimensions 400 x 480 px and fill it with white. Rename this layer
"Polaroid.Bg."

Step 3
Double click “Polaroid.Bg” and apply the following layer styles:

Step 4
Using the Rectangle tool draw a black rectangle inside the white base as
shown, rename this layer “Polaroid.Pic.”

Step 5
Now comes the fun part, put these layers into a folder and name it “P1”
then duplicate the folder and move the new Polaroid around and rotate it
(Cmd/Ctrl + T and hover over the corner and rotate). Try not to rescale the
Polaroid as they are all the same size. Repeat this until you are happy and
have a nice spread of Polaroid’s (I generally use about 6-7).
Step 6
Now that we have our Polaroid’s laid out, we need to import our image.
This can be anything you want. For this example, I will be using a
flower. Import the image into Photoshop and hide the layer. Here comes
the tricky bit, we need to select all the black on the canvas (apart from
the black in the picture which is why you hid it). Go to Select > Colour
Range and click on the black part of one of your Polaroids. This will create
a matte and select all the black on the canvas as seen below. Then press ok.

Step 7
Next, click on the Photo layer and press Cmd/Ctrl + Shift + I to invert
your current selection and press delete followed by Cmd/Ctrl + D to
deselect. Unhide the layer and now you should have something which looks
like the following:

Step 8 (Optional)
To make the 3D effect select all your layers (Click on the top layer hold
down shift and click on the bottom layer) then press Cmd/Ctrl + T and right
click inside the canvas and press perspective, drag out the handles at the
bottom like the following:

Step 9
To remove the band at the bottom simply scale up the image (Cmd/Ctrl +
T), the final step is to hide all of your black box layers in the folders,
simply go through each one and hide them.
Final Image
No comments:
Post a Comment